Introduction
CleanShot X is widely regarded as one of the most powerful screenshot and screen recording tools available for macOS. While Apple provides a built-in screenshot utility (Shift + Command + 4 and similar hotkeys), CleanShot X takes the experience to an entirely new level. It is designed for professionals, educators, developers, and content creators who frequently capture and share visuals. With features like scrolling capture, advanced annotation, instant cloud sharing, and video recording, CleanShot X helps you save time and communicate ideas effectively.
Table of Contents
Installing CleanShot X
Getting started with CleanShot X is quick and simple.
- Visit the Official Website – Go to cleanshot.com.
- Download the Installer – Choose the latest version for macOS.
- Install the Application – Drag the CleanShot X app into your Applications folder.
- Launch CleanShot X – Open the app from Applications or Spotlight search.
- Grant Permissions – Since CleanShot X captures your screen, you must allow permissions under:
- System Settings > Privacy & Security > Screen Recording
- System Settings > Accessibility
CleanShot X typically comes as a paid app, but you can start with a trial version to explore its features.
How to Take a Screenshot with CleanShot X
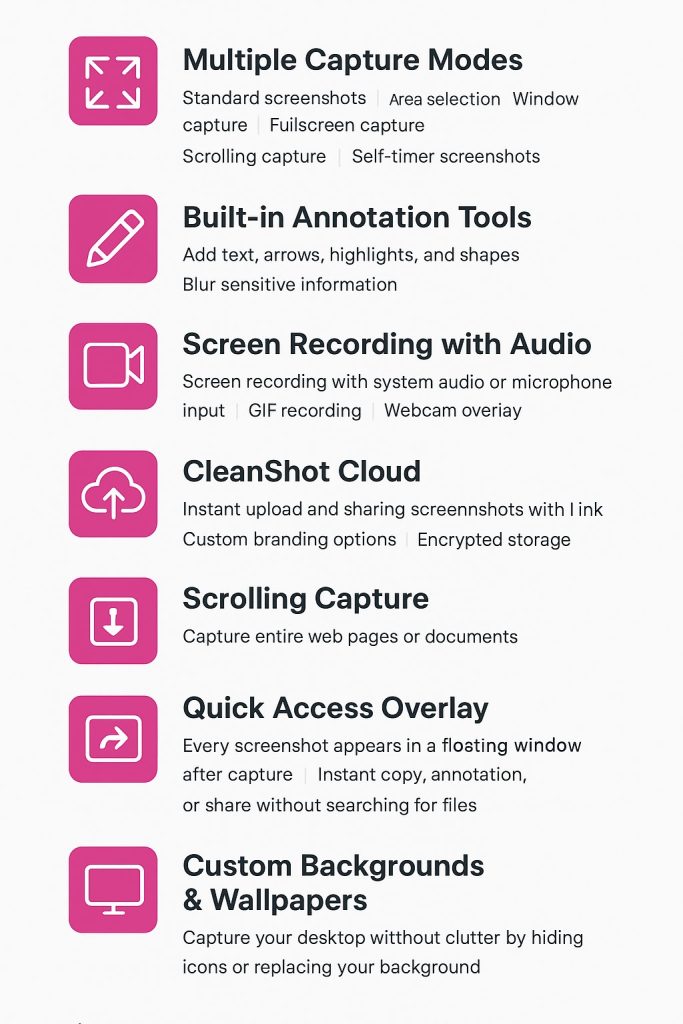
CleanShot X offers multiple capture modes beyond what macOS provides.
- Launch CleanShot X – You’ll see a floating menu bar icon for quick access.
- Choose a Capture Mode:
- Region: Manually select any part of the screen.
- Window: Capture a single application window.
- Fullscreen: Capture the entire display.
- Scrolling Capture: Grab entire web pages or long documents.
- Text Capture (OCR): Extract text directly from screenshots.
- Capture the Screenshot – Use customizable hotkeys or click the capture mode in the menu.
- Preview & Edit – After capturing, an overlay appears with editing tools.
Editing & Annotation
One of the highlights of CleanShot X is its robust editor. After taking a screenshot, you can instantly annotate it with:
- Arrows, boxes, and highlights to draw attention.
- Text tool for adding notes or explanations.
- Blur and pixelation for hiding sensitive data.
- Numbered steps for tutorials or process documentation.
- Stickers and shapes to make screenshots more visual.
Recording Video
CleanShot X isn’t just about images – it also supports video recording.
- Select Screen Recording from the CleanShot X menu.
- Choose Recording Area: fullscreen, window, or region.
- Enable Webcam & Audio: add narration or webcam overlay.
- Start Recording – Perform your actions on screen.
- Finish Recording – Stop and save the video as MP4 or GIF.
This is particularly useful for tutorials, software demos, or walkthroughs.
Saving & Sharing
CleanShot X makes sharing easy:
- Save locally as PNG, JPG, or PDF.
- Use CleanShot Cloud – every capture can be instantly uploaded to the cloud with a shareable link.
- Drag-and-drop directly into emails, chats, or project management tools.
For professionals, this reduces the friction of emailing large files or managing multiple attachments.
Special Features
CleanShot X comes with advanced features that set it apart:
- Scrolling Capture – essential for long pages.
- Self-destructing links – automatically expire after a set time.
- Quick Access overlay – see your recent screenshots instantly.
- Do Not Disturb mode – hides desktop clutter during capture.
- Text recognition (OCR) – copy text from images directly.
Keyboard Shortcuts
CleanShot X supports fully customizable shortcuts. Default ones include:
- Shift + Command + 1 – Capture region.
- Shift + Command + 2 – Capture window.
- Shift + Command + 3 – Fullscreen.
- Shift + Command + 5 – Replace macOS default capture.
Common Issues & Fixes
| Problem | Solution |
|---|---|
| Capture not working | Check permissions under Privacy & Security. |
| Scrolling capture fails | Use “Panoramic Capture” for dynamic content. |
| Video recording laggy | Lower resolution or frame rate. |
| Can’t upload to CleanShot Cloud | Check internet connection or log back into your account. |
Conclusion
CleanShot X is more than a screenshot app – it’s a complete visual communication platform for macOS. Its combination of fast capture, advanced annotation, video recording, and cloud sharing makes it one of the best tools for professionals. Whether you’re preparing documentation, reporting bugs, or creating tutorials, CleanShot X helps you work smarter and communicate clearly.
If you want a polished, feature-rich tool that goes far beyond Apple’s default screenshot shortcuts, CleanShot X is an excellent investment.